

Years ago, my sister gave me a gorgeous Tinker Bell tree topper. I LOVE Tinker Bell and this piece has proudly topped my tree and inspired the overall theme of my tree, complete with my collection of Tinker Bell ornaments,ever since she gave it to me. My Mom and Dad gave me a Han Solo ornament last year and my Mom said "Well, if anything can be an exception to you Tinker Bell tree, it should be Han Solo!" Oh, how well she knows me! So, this year, Han is enjoying his place of honor amongst the many Tinker Bell's on my tree.

The one thing I have always struggled with, Christmas decor wise, is where to display my Christmas cards. I usually end up settling with any place where I can tape up some ribbon and hang them. They inevitably end up falling down a million times! I decided that this year would be different and I would create an actual and official method of display for them. Ever since I was a kid, I loved looking at all of the Christmas cards as they came and I really wanted a nice place to display cards at my house for the holidays.
I scoured Pinterest and google searched for ideas. As tends to me my method, I ended up combining aspects of a few of my favorite ideas into the perfect concept for my space. I started out with trip to The Home Depot where I picked myself up a 1x6 plank and had them cut it for me into three, two foot sections. (The other two sections to be used for a couple other projects I have planned.) When I got back home, I set up a work space on my balcony and hopped to it. I had a sponge sanding block in my toolbox leftover from a previous project and used it to go over my two foot plank to even out the ridges and soften up the edges.

I had some light green spray paint left over from an old project so, I threw a quick coat of that on my newly smoothed wood and let it dry.


I found a holiday letters Martha Stewart stencil set on sale at Michael's along with some red and green acrylic paints and some holiday ribbon. Once the spray paint was dry, I carefully stenciled on the letters one at a time.
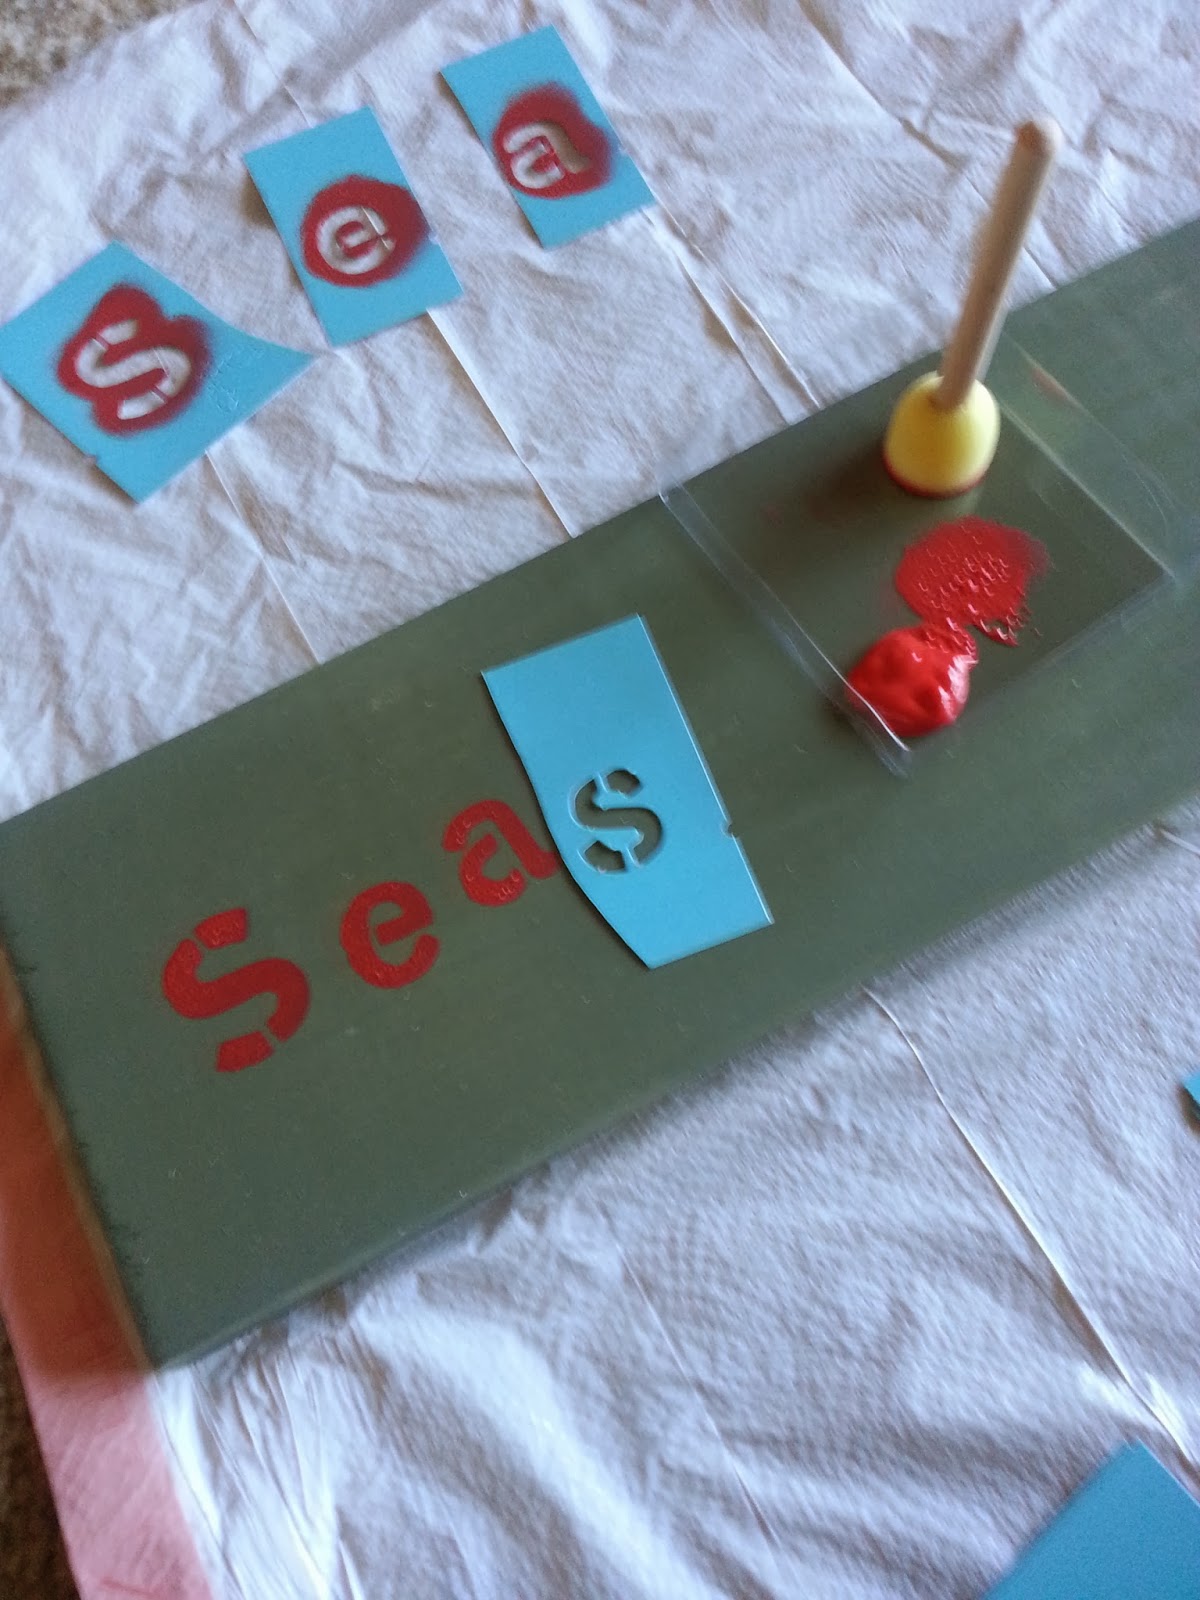
I put the letters purposefully at staggered heights so that I would not have to stress over making sure everything was straight. I added some stencilled holly leaves to the corners for some added visual interest. Of course, I realized as soon as I got home that the green acrylic paint I got was almost the same color as my spray paint, so I added a bit of black paint to the green and made a darker green to use for the holly leaves.

While my letters were drying, I put a quick coat of red paint on one side of some mini clothes pins I had also gotten at Michael's. These will eventually be used to clip the cards onto the ribbons.
By that time, everything was dry. I slapped some command adhesive strips onto the back of my sign. (love those things! SUPER great for apartment living when you don't always want to hammer a hole into your wall) For the next step, I pulled out my roll of Christmas ribbon. (I bought the kind with wire in it so that next year when it gets brought out of storage I can bend it back into proper shape) I used a staple gum and attached three strips to the back of the board. I left a long length for each strip so that I could cut it to proper length once I hung it on the wall.

Once hung, I trimmed the ribbon to the proper length and bent the bottoms of them strips into curls so they would look a little nicer until its filled with cards.

Then, I clipped the cards I had so far onto a strip of ribbon with one of my new red mini clothespins and VOILA!!

I'm actually pretty thrilled with how it turned out for being such a simple project. I think it will look even better when its filled with cards! (That was your hint to get those Christmas cards out family and friends ha ha) Also, I love how wonderfully it fills this space in my entryway that I am never quite sure what to do with. So, at least for a little while this spot feels complete. :) Now I guess I need to start thinking up a project for this spot for after the holidays....hmmmm...... :)

Great idea Janelle. Just keep them coming! Only problem for me is...how can you hang my e-card?
ReplyDeleteYour e-card was ADORABLE! I wish I COULD hang it on my new card display! :) It would be just beautiful playing such lovely Christmas songs throughout the day. Thank you Aunt Marie! :)
DeleteWhat a fabulous idea :) I just tape mine to the wall in my kitchen - haha
ReplyDeleteThanks Dawn! I too used to pretty much tape them up where ever I could find a place. But I had this empty bit of wall and I decided I wanted something more substantial for card display. :)
Delete