

About a year ago, my friend Kim and I got into a discussion at work about baking. Kim is an absolutely fabulous baker and from time to time will share with us the fruits of her labors. Everything from home-made marshmallows to chocolate dipped coconut macaroons! I have never even been slightly disappointed in any of her wonderful treats! She is my go-to for baking questions and she is even the one who taught me to make cake pops. During our discussion, the topic came up of the illustrious French Macaron. Neither of us had ever attempted them before but both thought they were so lovely and decided we needed to take the plunge and give them a whirl. After ordering a couple of cookbooks, and a year later, we finally set a date! Summoning our innermost Julia Child, and armed with tips and recipes, we dove in!
For those of you perhaps not familiar with French Macarons, they are virtually nothing like their distant cousin the coconut macaroon. French Macarons (use your best french accent on that pronunciation) are a much more fickle beast made with Almond flour, egg whites (where the fickle part comes in) and confectioners sugar. My very first tip for ease in macaron making is to buy Almond flour!! We started with almonds and ground them our self, since almond flour was MIA in the grocery store. Its a lengthy process of blending and sifting and sifting some more, all the while trying NOT to accidentally make Almond butter. So do yourself a favor, and just hunt down some almond flour!


(See how much fun it is sifting home made almond flour...)


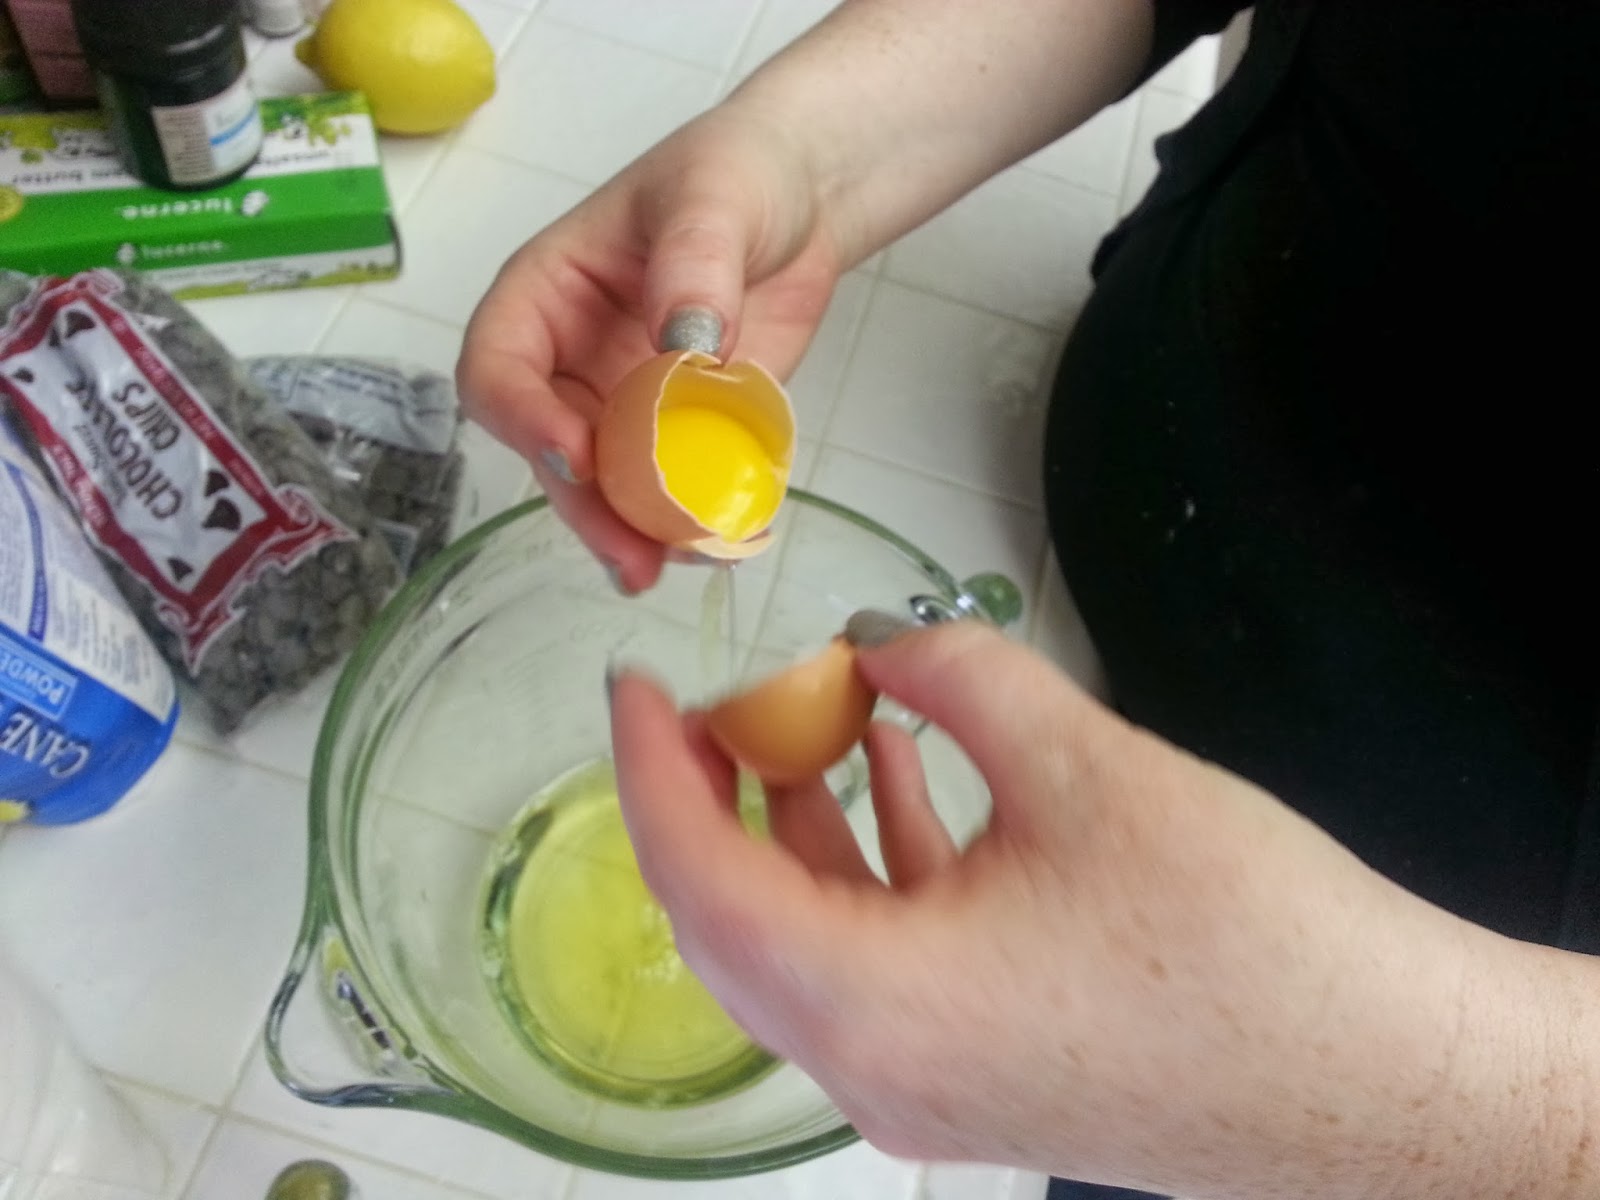
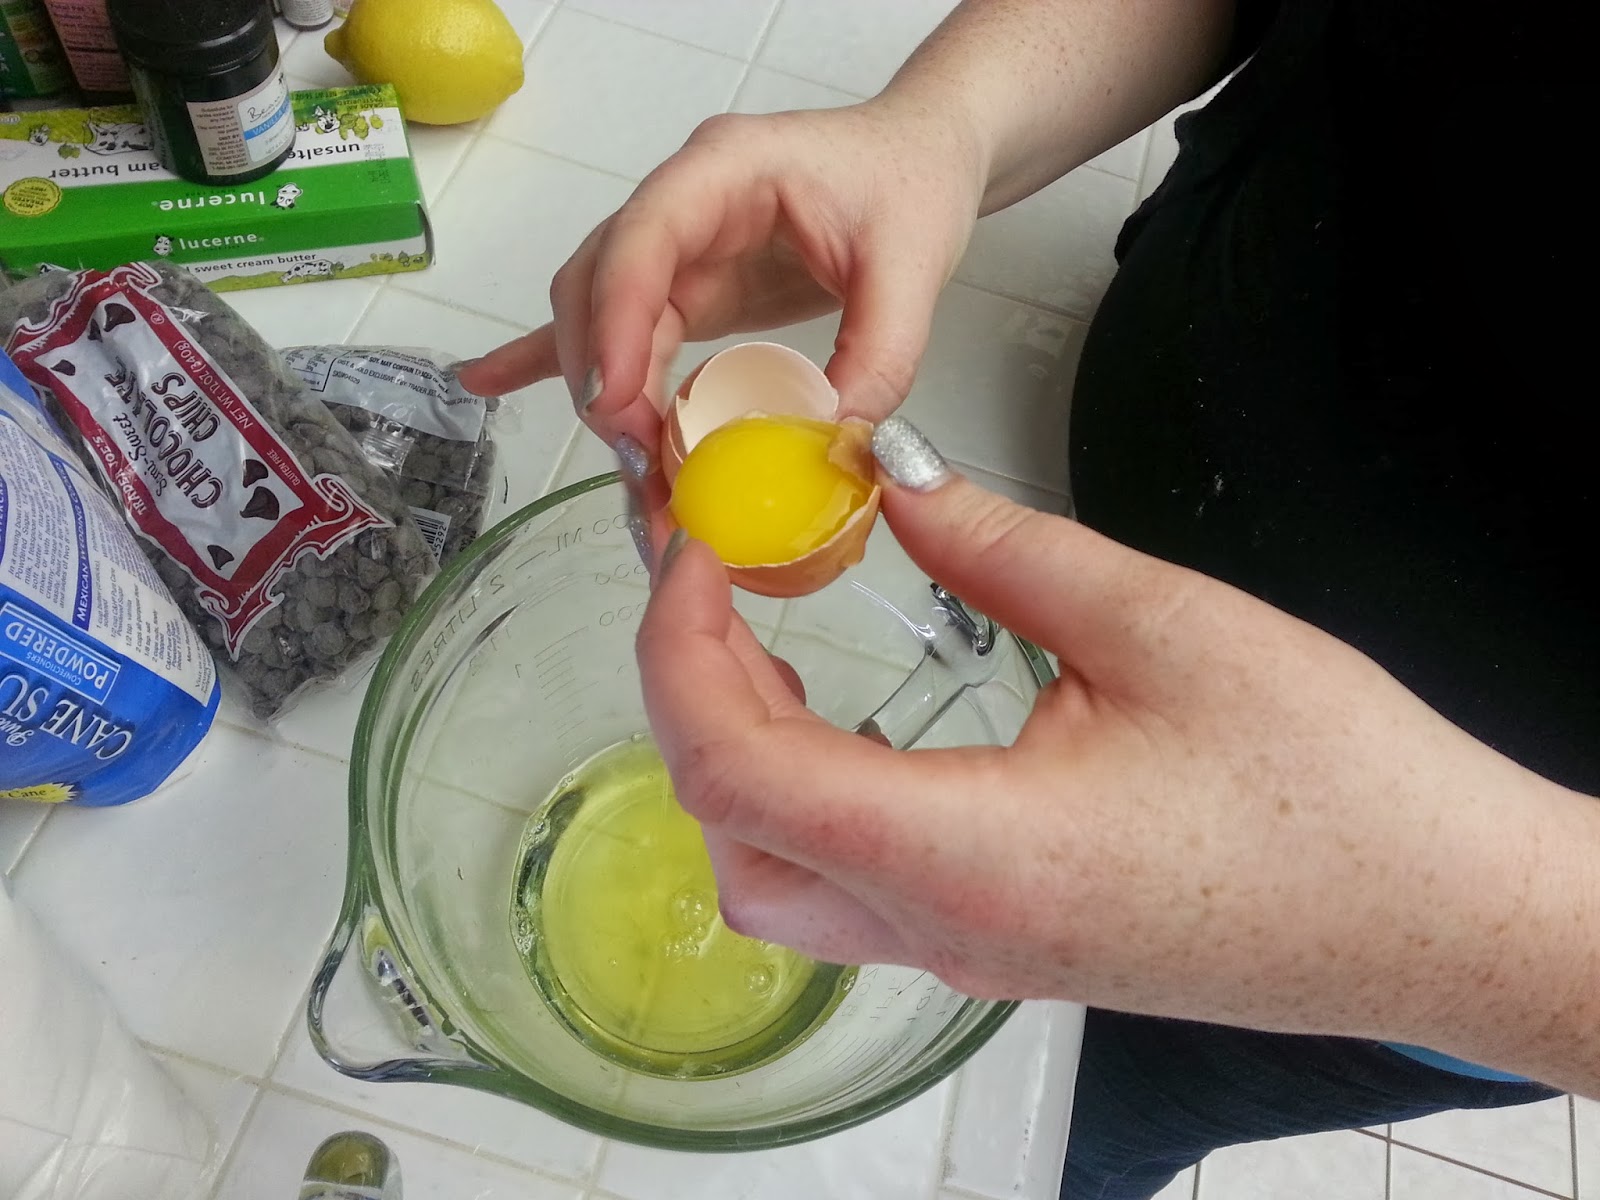
After grinding and sifting our Almond flour, we mixed in the confectioners sugar and then sifted it all again. Then, setting that aside, we began prepping the eggs. Kim taught me a wonderful trick to getting room temperature eggs (very important in Macaron making) Carefully submerge your eggs in very warm water for five minutes and they are ready to go. Brilliant! Kim also helped me separate (successfully) my first egg without using an actual separator!

Next, we whipped the eggs into stiff peaks (adding food coloring if desired)


Then, we carefully folded in the almond flour/sugar mixture.

Once fully integrated, we filled a pipping bag with the mixture and pipped 1-inch rounds onto a silpat lined cookie sheet. (Eventually we found that parchment paper works WAY better)


We thought at this point, that something might be wrong, as our circles were very puffy and didn't seem to "settle" and look like the pictures in the recipe book. But, having never made them before, we pressed on. Our recipe told us to set them out for an hour to let a "crust" form before baking so that classic "feet" ("feet" are the sort of fluffy base that are indicative of the perfect french macaron) would form when they baked. Once they were done forming their "crusts", we baked them.....they did not get feet. :(

While these were baking, we made the most divine french butter cream, for the fillings, using the egg yolks we had discarded earlier. We made a simple syrup and then blended that into the whipped egg yolks and added our desired flavorings.


Our first attempt, did not exactly look like text book French Macarons....

Although, there were no problems in the flavor department. Our Chocolate Macaron with chocolate ganache filling was fantastic! Our Orange-Vanilla Macaron was quite pleasant and our Lemon-Lavender ones were so DIVINE they gave us chills....SERIOUSLY! None the less, we went home slightly disappointed in our macarons with less than amazing curb appeal.....
Later that evening, I got a text from Kim saying that she had found a YouTube video for "Foolproof Macarons" and had followed her advice/recipe and....VOILA! Bravo Kim!!
I was soooooooo excited!!! I was determined to try them myself again as well and myself some perfect Macarons as well. The next day, I watched the video and got started. My first batch following her tips was not perfect, but I could see the beginings of feet and I had enough almond flour left for two more batches.


This lady's best tip was that when mixing the almond flour into your stiffened egg whites, fold them in until your mixture is a "molten" consistency (watch the video for a great visual measure) and it drips off your spatula as you would expect molten lava to flow. I thought I had possibly over-folded the last batch so I was very careful on the next batch. Once it had gotten to the molten consistency, I pipped my circles and waited her recommended 30 minutes.

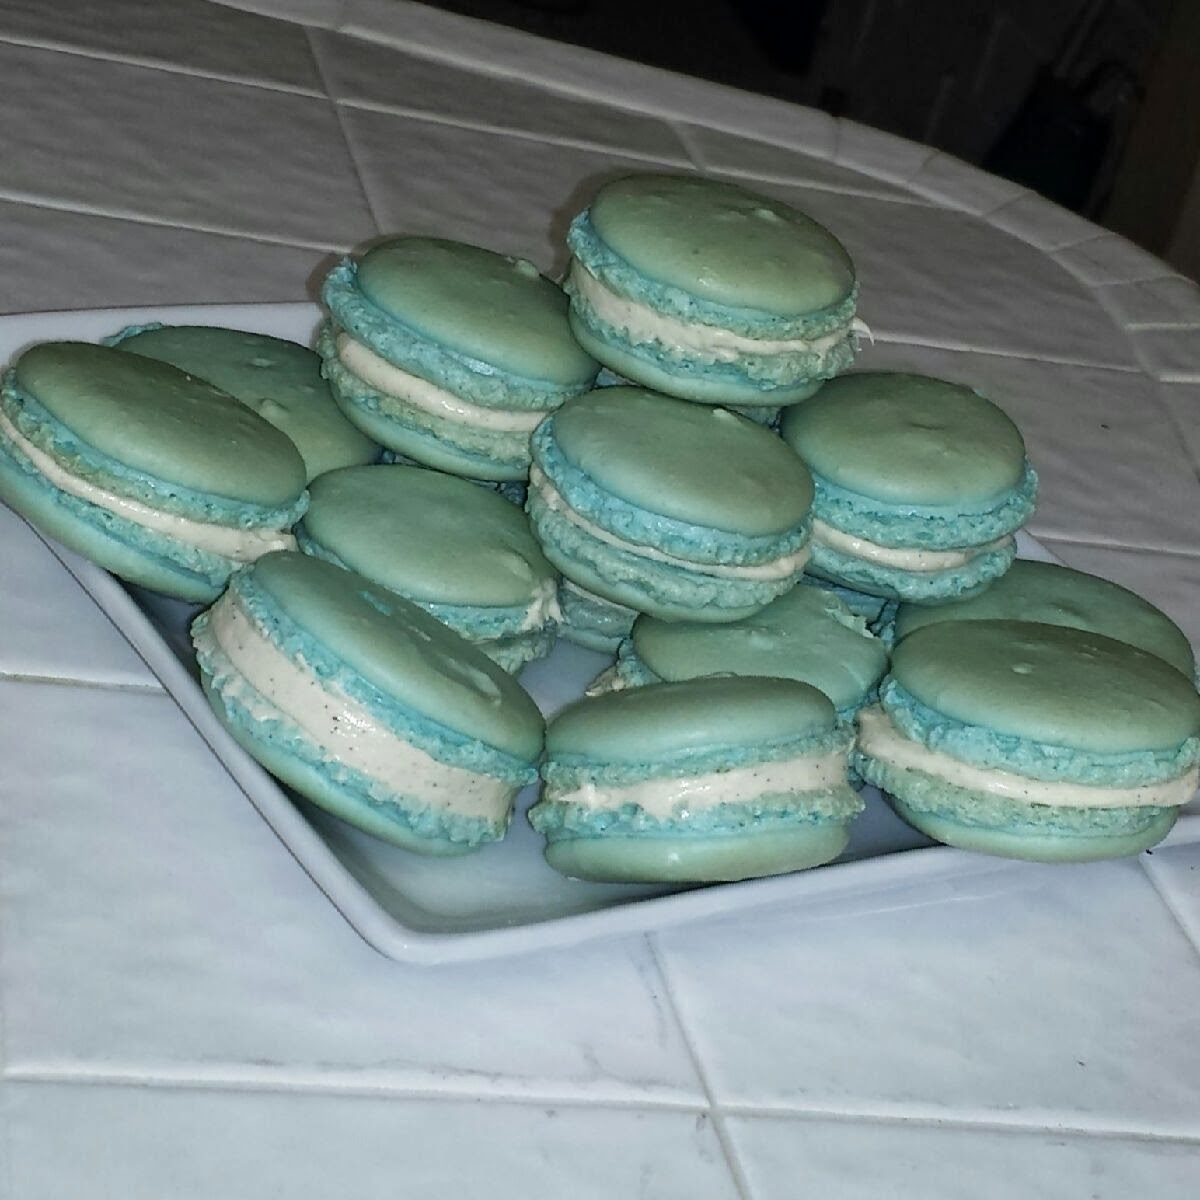
After the 30 minutes was up, I popped them in the oven and waited with baited breath...I was almost afraid to check on them, but was elated when halfway through their bake time, THEY HAD FEET!!!

I was so excited that I didn't even care that a few of them had cracked on the top. They had feet and were mostly smooth, so I was thrilled! I went ahead and made the third batch and they turned out pretty good as well.


For those of you still reading (sorry, Mastering French Macarons took a while) I have come away from this adventure with a few thoughts....
#1-Macarons are finicky as heck so just go in with a "practice makes perfect" mentality.
#2-I really DO think that ANYONE can perfect these really classy cookies.
#3- Watch the YouTube link prior to making these! The video is SUPER helpful and her tips really do work!
And finally #4- Get almond flour! It's worth it!
Kim and I really did have a blast making these and having 2 baking brains working out the kinks together and separately really did help. Bottom line, these really are yummy and fancy little treats and I hope you will give them a try. The possibilities with colors and flavors really are endless and I can't wait to make more! And in closing, borrowing the sign off of my inspiration during this project.....BON APETITE!
No comments:
Post a Comment