

I'm so excited to finally share the details of the Etsy party I hosted a few weeks ago! I apologize in advance for the length of this post, but there is just SO MUCH to share and I can't leave anything out. It ended up being a bit of a smaller crowd than we originally thought, but it was a great group and turned out to be better for the space we had. I keep hearing what a great time everyone had and how they can't wait to see what next years' party has in store!
This was my first year participating in Etsy's global craft day. Every year, Etsy promotes a global craft party to encourage creativity and crafting. Various Etsy members and/or shop owners sign up to host parties around the globe, in their areas, on a certain day. Etsy gives a suggested craft and each host can do that or any number of craft options of their choosing. This years theme was Recapture:bringing new life to your photographs. Since this was my first year participating, I decided to keep it pretty simple and do the suggested craft. This years craft was embroidering onto your photographs to turn them into even brighter keepsakes or turning them into fun postcards.
I was super excited to take advantage of my local JoAnn's craft room for our venue. JoAnn's offers the use of their craft room, inside the store, for free when there are no classes going. Lucky for me, their was a mid day window available, and after checking out the space, I jumped on the opportunity!

In preparation for the party, I made a few decorations to make the room a bit more Etsy themed. I used my Cricut paper cutting machine to cut out a couple of banners.

I also made some little tags that I hung from some white bins I found in the Target dollar bins. I filled each one with the crafting supplies.


My final piece of preparation was to make a few samples of the craft to use for reference. I embroidered a few of my own photos and made some into postcards and tossed a couple others into frames. I created a nice little display at the front of the classroom and passed some of the samples around during the party for people to get ideas from.


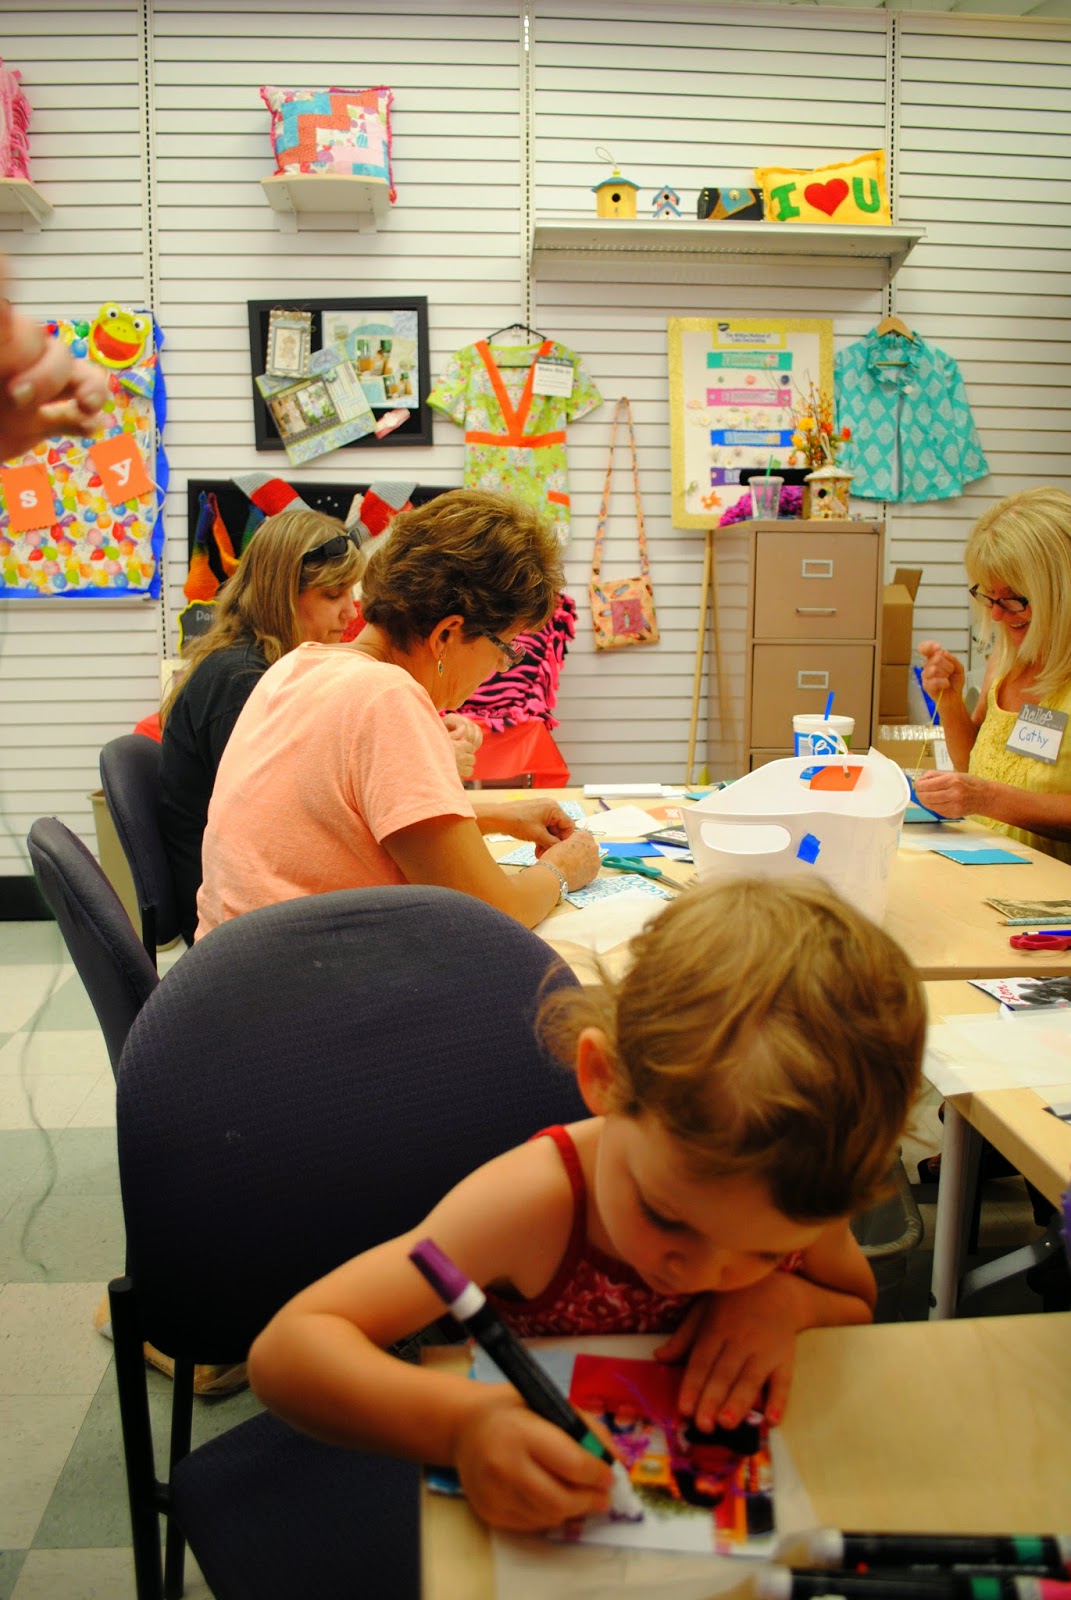
Once the guests arrived, I gave a quick intro and we got started. I asked the guests to bring a photo or two to use for the project. For those who didn't bring photos ,or could not decide which to use, I had a stack of vintage post cards for people to add embroidery to.

To begin with, I had everyone flip their photos face down and we applied strips of blue painter's tape to the back of the picture.


This helps give some added stability, which is necessary when you start embroidering through paper. I had my guests tape right onto the table until the back was covered, then pull the whole thing off the table and trim the overhang to make it pretty.


Next, we taped a single sheet of tracing paper over the front side of the picture (just enough tape to hold it in place) and then I had my guests trace the image or words they wanted to embroider.


Then, we put a piece of cardboard under our photos and used embroidery needles to poke holes into our design. (about one hole every 4-5 mm of image) I found that the best method to get a good grip on your needle while poking the holes is to push your needle into the eraser of your pencil and then use the pencil for gripping.


Once all the holes were poked, we gently removed our tracing paper and got to work on embroidering on our designs.


We had so much fun! I'm glad I decided not to more than the one craft, as some of the ladies ended up taking theirs home to finish. Even my niece joined in on the fun! She had a good time and was actually really good at embroidering. She spent most of the party hanging out near my boyfriend because she said he would need her help. Hahaha


Before we wrapped up the party, I had everyone drop their name tags into a bin and we did a drawing for our door prizes. Two lucky winners were drawn and they got to choose between a mini tote bag from my Etsy shop or one of the 3-packs of my mesh zipper bags. Here are the happy winners!


As a special thank you to all of my guests, I had made up some little favor bags. I took some fabric from my "Signature" line and made little fabric envelopes.

I ordered some buttons with my shop logo on them and used those to close up the envelopes.

I made mini sewing kits from matchboxes, which I painted and added my logo stickers to. I also tossed in some chocolates (because why not??) and a business card with a special coupon code for those in attendance.


I think my niece REALLY liked the chocolates!


I want to thank everyone who came to the party and for those who purchased tickets but were not able to attend! You guys are so awesome and thank you for your endless support! We had so much fun and I look forward to making this an annual event! We are donating the extra ticket money ,that was not used for supplies, to The boyfriend's mother's non-profit quilting group. They make gorgeous quilts for deserving veterans. I was so glad to have met a few of her fellow quilters from the group at the party.


I would also like to thank my adorable nieces for being so wonderfully well behaved and for bringing some added entertainment to the party.


And finally, I would like to than The Boyfriend, for not only spending his day off with a bunch of crafting ladies, but also for making a craft of his own and taking all of these awesome pictures so that I could focus on helping the guests. He was so helpful and without him I would have nothing to share with you all other than my story of the party.


What a fun craft idea.. I have never heard of this but the end result looks amazing... Sorry I was out of town and missed your fun afternoon .. Thanks to Steve for the great pics..
ReplyDeleteOh my goodness...this looks SO FUN! And what a cool craft project. I would have never thought to embroider my photos.
ReplyDeleteSo cute! :) It looks like so much fun!
ReplyDeleteIt was tons of fun!! Great party and post Janelle! And great pictures Steve!
ReplyDelete